

Quick Installer Summary
Key takeaways for fitting a bar mixer shower fixing plate:
- Standard Centres: The steel plate fixes rigidly to the substrate, permanently locking the pipework at standard UK 150mm centres with ±15mm offset tolerance.
- Recommended Height: Mount the centre of the plate between 1,000mm and 1,200mm above the finished shower tray level (or follow bath manufacturer guidelines for bath mixers).
- Orientation: Always bring hot water to the left and cold water to the right to ensure thermostatic cartridges function correctly.
- Pressure Test: Perform a 15-minute mains pressure test before tiling. Never rely on compression joints behind sealed tiles without an access panel.
A shower fixing plate (also sold as a shower mounting plate or bar shower fixing kit) is a heavy-duty steel bracket installed behind finished wall linings to support a bar mixer or exposed shower valve. By securing the brass pipework elbows to a rigid steel plate, the assembly eliminates movement, guarantees exact 150mm pipe centres, and allows installers to tighten valve union nuts against a solid mechanical backplate rather than unsupported pipe tails.
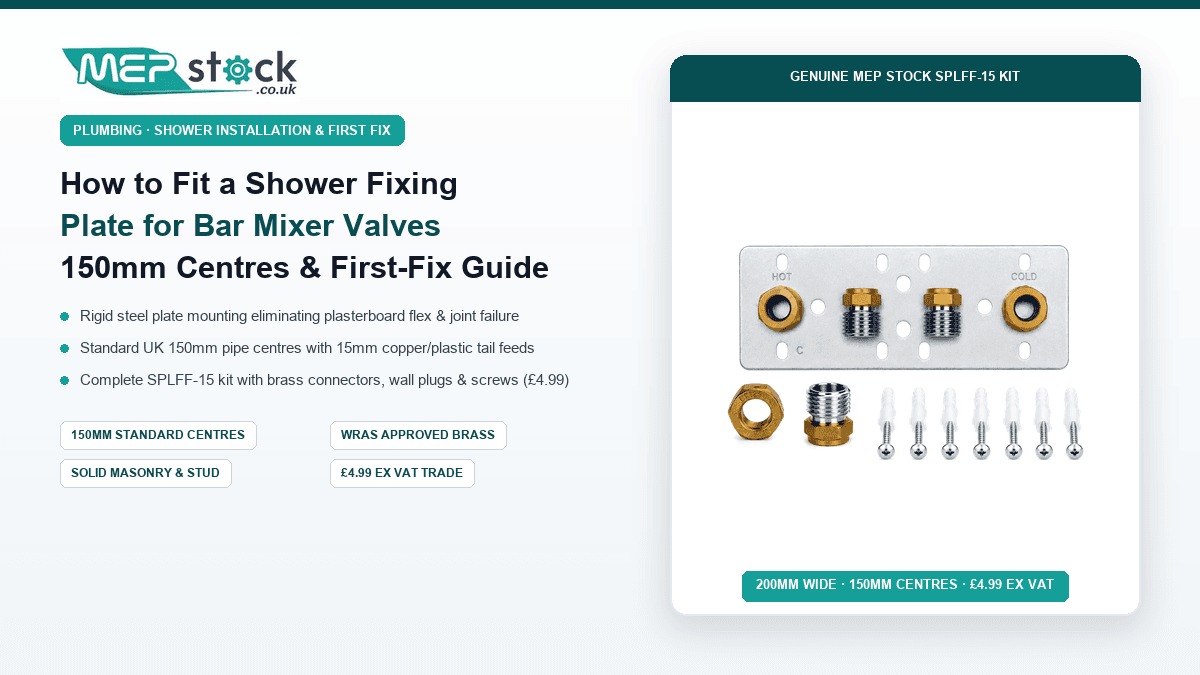
The MEP Stock Shower Fixing Plate Kit (SPLFF-15) is priced at £4.99 ex VAT, measures 200mm wide by 70mm high, and includes corrosion-resistant brass connectors, mounting screws, and wall plugs. On a standard first fix, installation takes approximately 30 minutes.
Quick answer: Secure the plate level to masonry or timber noggin battens at your target shower height (typically 1,000mm–1,200mm above the tray). Connect 15mm hot water to the left connector and cold water to the right. Carry out a full mains pressure test before tiling, ensure the brass threaded outlets finish flush or slightly proud of the tile face, then screw on the bar mixer once tiling is completed.
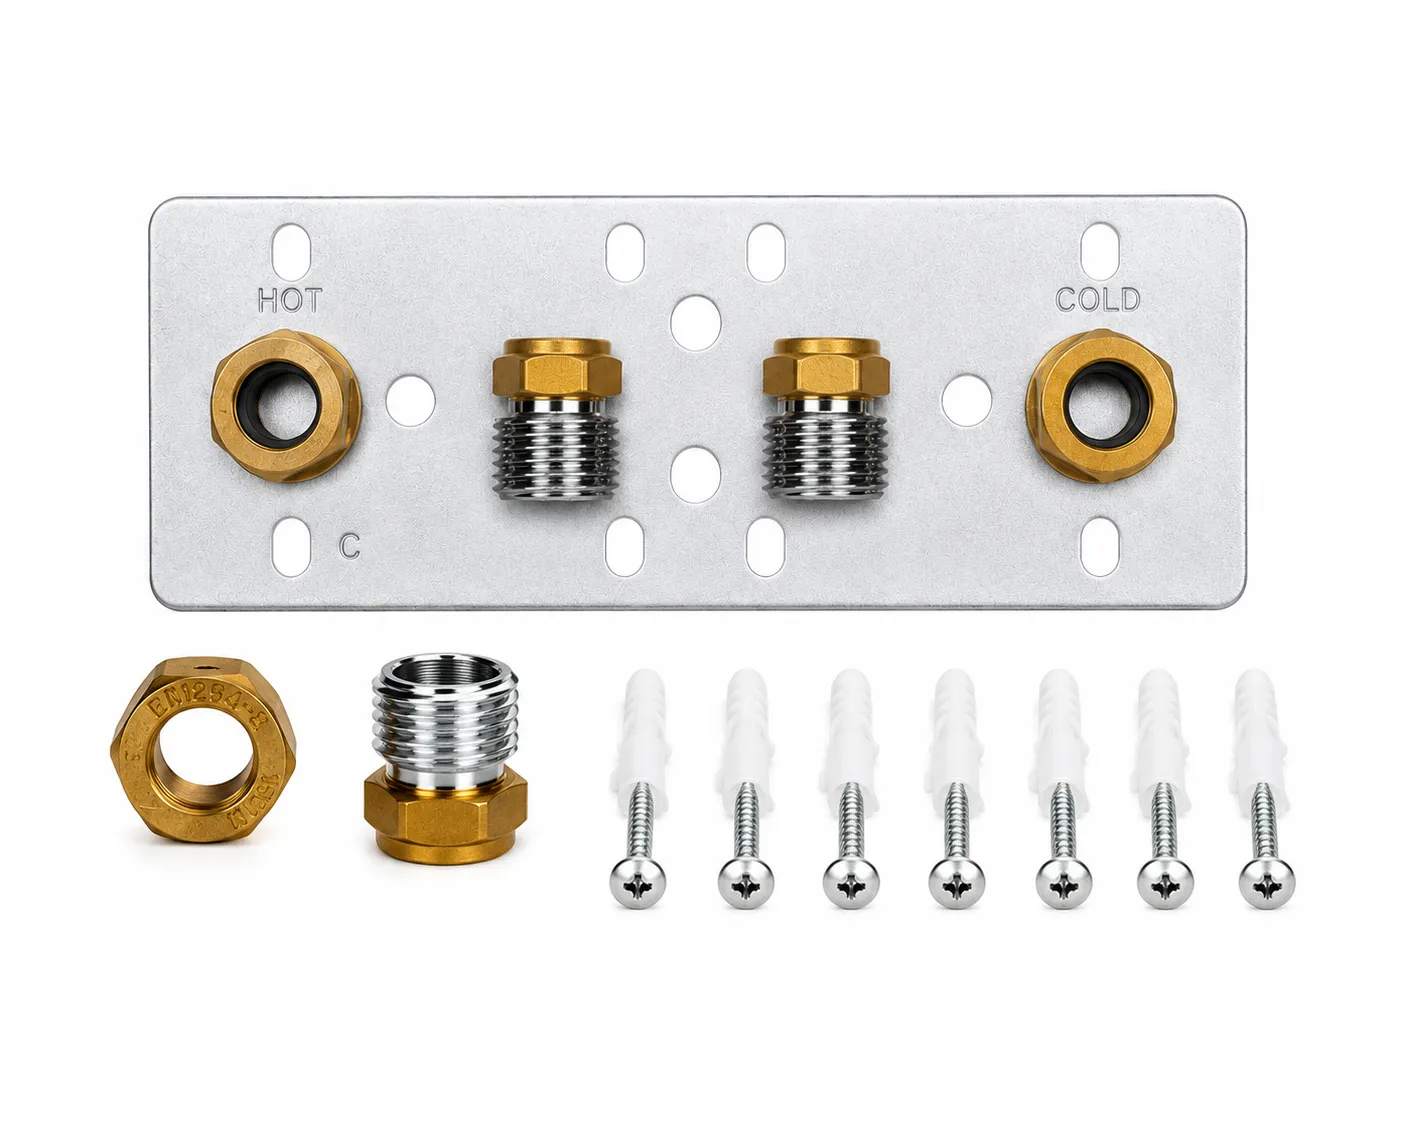
Shower Fixing Plate Kit (SPLFF-15)
Heavy-duty galvanised steel bracket with pre-machined 150mm centres, complete with brass backplate elbows, wall plugs, and countersunk screws. Designed for exposed bar mixer showers, concealed enclosures, and bath shower mixers.
View Shower Fixing Plate Kit →Required Materials, Tools and Fittings
Before starting the first fix, ensure you have the correct combination of mounting hardware and pipe fittings ready on your van:
| Item | Function | Price ex VAT |
|---|---|---|
| Shower Fixing Plate Kit SPLFF-15 | Rigid steel plate, brass 15mm × 1/2" BSP connectors, screws, plugs | £4.99 |
| 2 × 15mm Pipe Joint Fittings (M-Press, Compression or End Feed) | Connects incoming hot and cold copper or plastic supply tails to the plate | From £0.70 |
| Chrome Compression Wall Plate Elbow 15mm × 1/2" | Exposed chrome finish alternative for surface-mounted shower runs | £2.27 |
| PTFE Tape or WRAS Liquid Thread Sealant | Applied to 1/2" parallel BSP valve threads only (never on compression olives) | Standard stock |
| Torpedo Spirit Level, Pencil, Masonry/Tile Drill Bits, Spanners | Ensures exact horizontal leveling across the 150mm centres | Tool kit |
Standard UK bar mixer showers are manufactured to 150mm pipe centres, featuring offset S-unions that provide approximately ±15mm of fine adjustment. Because the SPLFF-15 mounting plate is 200mm wide with factory-spaced 150mm centres, it accommodates virtually all domestic and commercial bar valves on the UK market.
Setting Mounting Height and Marking Wall Centres
Begin by positioning the mounting plate horizontally on the wall using a torpedo spirit level. For a standard bar mixer shower paired with a riser rail, the standard installation height is between 1,000mm and 1,200mm from the finished floor or standing surface of the shower tray to the centre of the valve. For bath shower mixers, adhere to the bath rim clearance specified by the manufacturer.
Mark the four perimeter fixing holes and the two central pipe entries with a pencil. Crucially, calculate your finished wall build-up before securing the plate:
- Account for backer board thickness, tile adhesive bed (usually 3mm–4mm), and tile thickness (8mm–12mm).
- The plate fixes directly to the structural substrate behind the tiles, and the male threaded brass outlets must finish flush with the finished tile face or slightly proud (2mm–5mm), never recessed behind the tile surface.
Securing the Plate to Masonry and Stud Wall Substrates
Drill the four marked mounting points using an appropriate masonry or tile drill bit, insert the supplied heavy-duty wall plugs, and drive the countersunk screws home. Check level across both brass centres before fully torquing the final screw.
Stud Wall Installations: Never screw a shower fixing plate directly into plasterboard alone. Plasterboard fixings will fatigue and pull out under the leverage exerted when users lean on the valve or pull the riser rail. Always install a solid timber noggin (minimum 50mm × 100mm timber) between the vertical studs directly behind the plate location, screwing the bracket directly into solid timber.
Connecting 15mm Hot and Cold Supply Pipework
Route the 15mm supply pipework to the plate. Under standard UK plumbing practice, hot water must always connect to the left inlet and cold water to the right inlet. Connecting feeds in reverse will prevent thermostatic mixing cartridges from regulating water temperature, causing scalding or cold water lockout.
Depending on the pipework material used on your installation:
- Compression Jointing: Cut the copper tube clean and square with a rotary pipe cutter, deburr inside and out, slide the compression nut and brass olive on, and push the tube fully to the internal stop. Tighten hand-tight, then apply ½ to ¾ of a turn with a spanner. Always counter-hold the plate connector with a second spanner to avoid bending the bracket.
- Press-Fit (M-Profile): Mark insertion depth on the copper tube, insert fully into the fitting, and crimp with an approved M-profile press tool. This completely eliminates open flames near timber studs and wall membranes.
- End Feed / Solder Ring: Solder supply tails prior to mounting the plate to the timber noggin, or protect surrounding framing with a certified high-temperature heat mat.
If you are running pipework on the finished surface rather than chasing it into the wall, our complete chrome compression fittings range provides a neat aesthetic, paired with a chrome compression wall plate elbow for exposed runs.
Pressure Testing Before Tiling
Fit brass blanking plugs or attach test valve caps to the 1/2" BSP outlets, restore mains water supply, and pressure test the entire assembly at full operating pressure for a minimum of 15 minutes.
Inspect every connection thoroughly, especially the compression joints behind the plate. Tightening an olive takes 10 seconds during first fix; repairing a weeping joint behind a fully tiled, tanked wet room requires breaking tiles and rebuilding walls. Our comprehensive guide to which fittings are allowed in concealed walls and cavity spaces explains why compression fittings behind sealed walls should always remain accessible or be upgraded to permanent press-fit joints.
Tiling and Mounting the Final Shower Valve
Tile neatly around the protruding brass connectors, leaving neat circular cutouts. Once tile adhesive and grout have fully cured:
- Apply 4–6 wraps of PTFE tape around the male 1/2" BSP threads in the direction of the thread.
- Thread on the chrome shroud cover plates to conceal the tile cutouts.
- Screw the shower valve's offset union connectors onto the plate threads, checking that centres remain precisely 150mm and perfectly level.
- Mount the bar mixer valve, ensuring rubber sealing washers or mesh filters are seated inside the union nuts. Tighten gently using a soft-jaw wrench to prevent scratching the chrome finish.
- Restore water supply, check for leaks at the valve body joints, and verify hot and cold temperature blending across the thermostatic cartridge range. For modern concealed bathroom installations, consider complementing your enclosure with a tileable flush plate for a seamless finish.
Common Installation Mistakes to Avoid
- Fixing Directly into Plasterboard: Plasterboard cannot withstand repeated lateral forces. Always brace stud walls with timber noggins.
- Recessed Connectors: If brass connector outlets end up behind the finished tile face, valve nuts will bottom out before making a compression seal against the rubber washers. Ensure connectors protrude flush or slightly proud.
- Reversed Hot and Cold Feeds: Thermostatic cartridges require hot water on the left. Swapping feeds results in erratic temperature swings or complete loss of thermostatic regulation.
- PTFE on Compression Olives: Never apply PTFE tape over brass compression olives. PTFE prevents olives from seating cleanly in the machined brass taper. Use approved WRAS jointing paste if required.
- Skipping Pre-Tile Pressure Testing: Always pressure test the cold and hot connections before sealing the wall.
Frequently Asked Questions
What is a shower fixing plate?
A shower fixing plate is a heavy-duty steel mounting bracket fitted with two rigid brass connectors. It is secured to the wall structure during first fix to hold water supply pipes firmly at exact centres, creating a solid anchor for exposed bar mixer shower valves.
What pipe centres does a shower fixing plate use?
The standard UK bar mixer shower fixing plate is designed with 150mm pipe centres. Most bar valves include offset cranked S-unions providing ±15mm adjustment to accommodate fine site tolerances.
Do I need a fixing plate for a bar mixer shower?
While not strictly mandatory, installing without a plate leaves the shower valve supported solely by copper tails. A shower fixing plate transfers all operational loads directly into the building structure, prevents joint strain, and allows simple valve replacement in the future.
Can I use a shower fixing plate on a stud wall?
Yes, provided you mount the plate securely to a solid timber noggin installed between the studs. Never rely on hollow wall anchors or cavity plasterboard fixings.
What pipe size does the fixing plate connect to?
The SPLFF-15 kit connects to standard 15mm copper or barrier plastic pipe on the supply side, with 1/2" male BSP threaded outlets for the shower valve union nuts.
Order the Genuine SPLFF-15 Shower Fixing Plate Kit
Get trade pricing at £4.99 ex VAT with all brass fittings, screws, and wall plugs included. In stock for rapid nationwide next-working-day delivery, with free delivery on orders over £150.
Shop Shower Fixing Plate Kit (£4.99) →Explore our complete ranges for bathroom first-fix installations in the taps and showers category and chrome compression fittings catalog.